SELF BINDING BABY BLANKET TUTORIAL
•Posted on January 26 2016
Today we have a fun tutorial to share with you! Most of you have probably made a self-binding blanket before, but we still wanted to post a tutorial because it seems like every time we need to make one of these blankets, we have to refer to our pattern! So, it'll be nice to have these step by step pictures to help us out.

SUPPLIES NEEDED:
- 30" square for blanket front
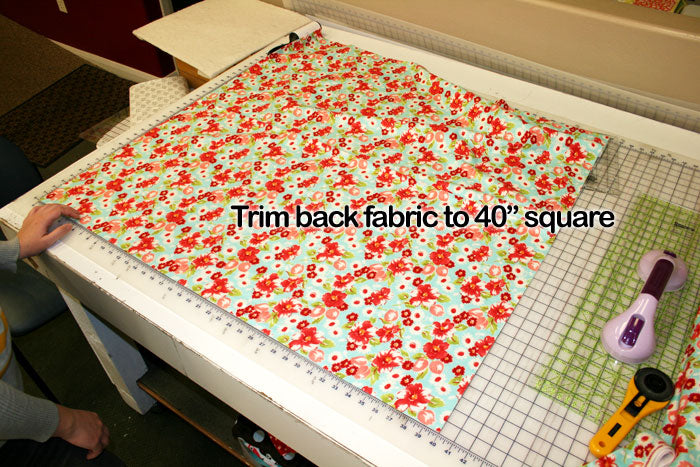
- 40" square for blanket back
- Rotary cutter, mat, ruler
- Pins

Select two fabrics. Cut your front fabric to 30" square and back fabric to 40" square.

Mark the center of all four sides of both squares.

Place right sides of fabric together with the stretch of the fabrics going the same direction on both pieces.
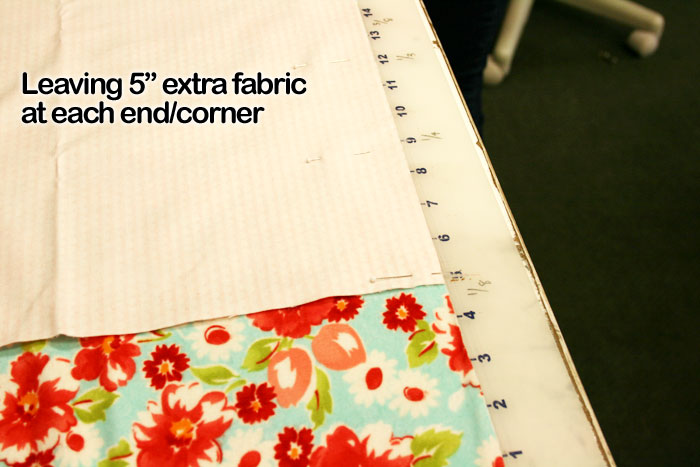
One side at a time, pin together starting at the center marks and going out - leaving 5" of extra fabric in each corner.


Sew from the middle out, stopping 1/4" away from each corner of the front piece.

Repeat this process on three sides. On the fourth side, leave an opening for turning your blanket right side out later.


After all four edges are sewn, lay the fabric out. Take two perpendicular edges and bring them up together to line up the seams.

The lined up edges are shown below with a red line. Line up the folded edge along the straight line on your cutting mat. Place your ruler to be lined up with the bottom folded edge and the END of the 1/4 inch stitched seam.

Trace a line with pencil to form the 90 degree angle where you will be sewing the miter.

Sew directly on the pencil line. Repeat for all four corners.

After sewing the four mitered corners, lay the blanket out flat to make sure that all corners have been sewn correctly. If they lay just right, trim each corner leaving a 1/4" seam.

Using the opening, turn the blanket right sides out.

Lay the blanket out flat and even out each side of the binding (back fabric) so that it creates a 2 1/2" binding all around the blanket. Pin the opening well.

Choose a cute decorative top stitch. Sew along the seam all the way around the blanket, making sure to catch the opening to close the hole and finish the blanket.


FINISHED SIZE: 35" X 35"
